Toolbar
Tools and functions in the left side are always enabled, and those in the right side are enabled when corresponding layers are selected.


On the left is the file menu.
On the right are collaborator avatars, and features for sharing, dev mode, presenting and view options.

Selection tools
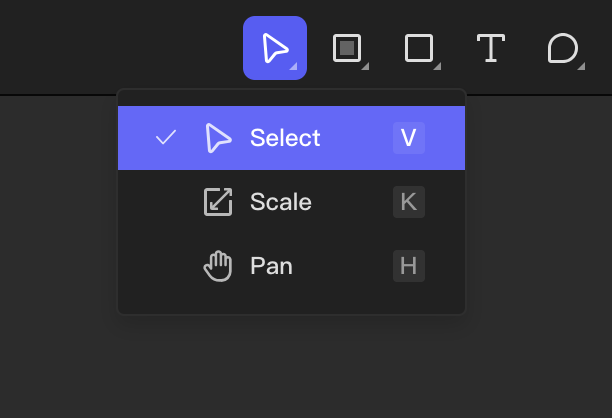
Select tool
Shortcut: V
The tool activated by default and allows you to select any layer on the canvas.
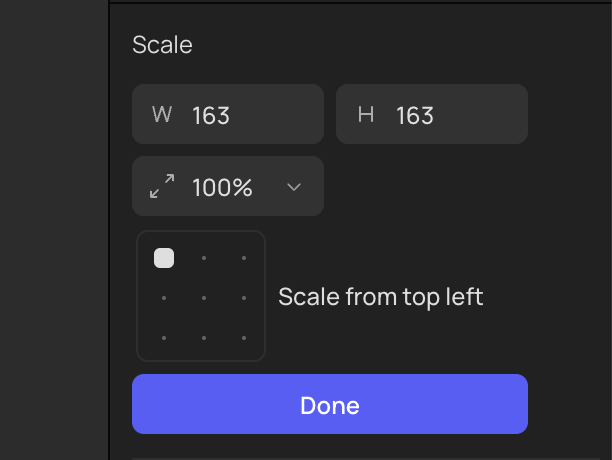
Scale tool
Shortcut: K
Used to proportionally scale the selected object, supporting the selection of the scaling center.
Pan tool
Shortcut: H
Used to drag the canvas without accidentally moving layer elements. Press and hold the Space bar will do the same.
Area tools
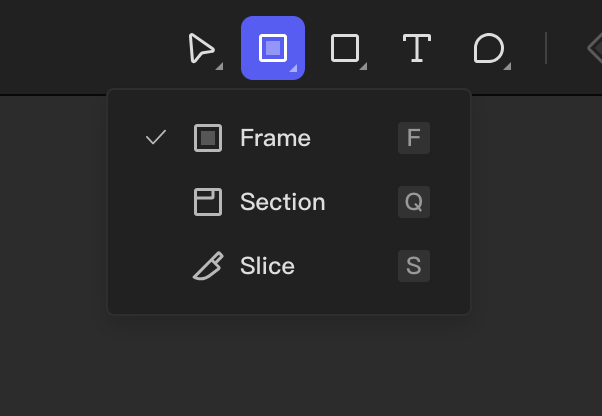
Frame tool
Shortcut key: F
Frames are used to hold various child objects. You can customize the frame's size, corner radius, fill, stroke, effects, and more, similar to a rectangle. Learn more about Frame
Section tool
Shortcut: Q
Sections can be used to group canvases or layers. They are not design elements for building interfaces. Learn more about Section
Slice tool
Shortcut: S
Used to define the range of a slice. Once added, slices are recognized as exportable slice resources in inspect mode.
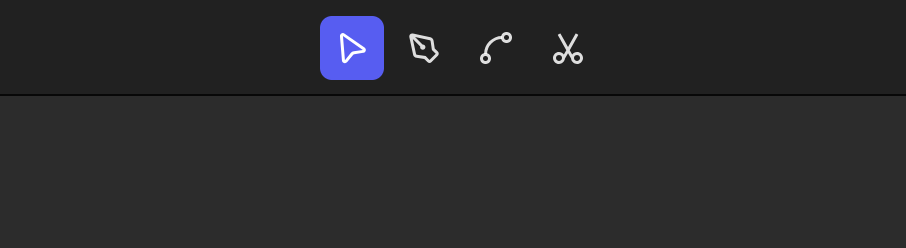
Shape tools
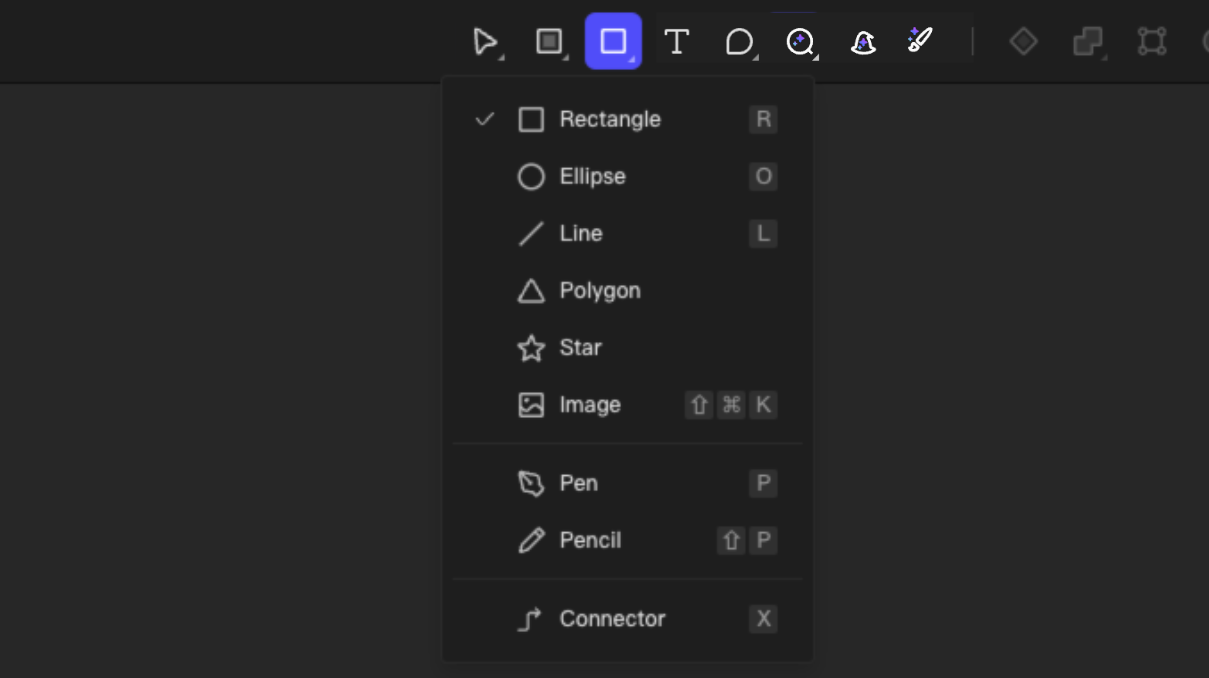
Pen tool
Shortcut: P
Used to freely draw vector graphics, a must-have for drawing icons and illustrations. Learn more about Pen Tool
Pencil tool
Shortcut: Shift + P
Connectors tool
Shortcut: X
Used to add logical explanations between elements. Flows are not design elements for building interfaces. Learn more about Connectors Tool
Text tool
Shortcut: T
Learn more about Text Tool
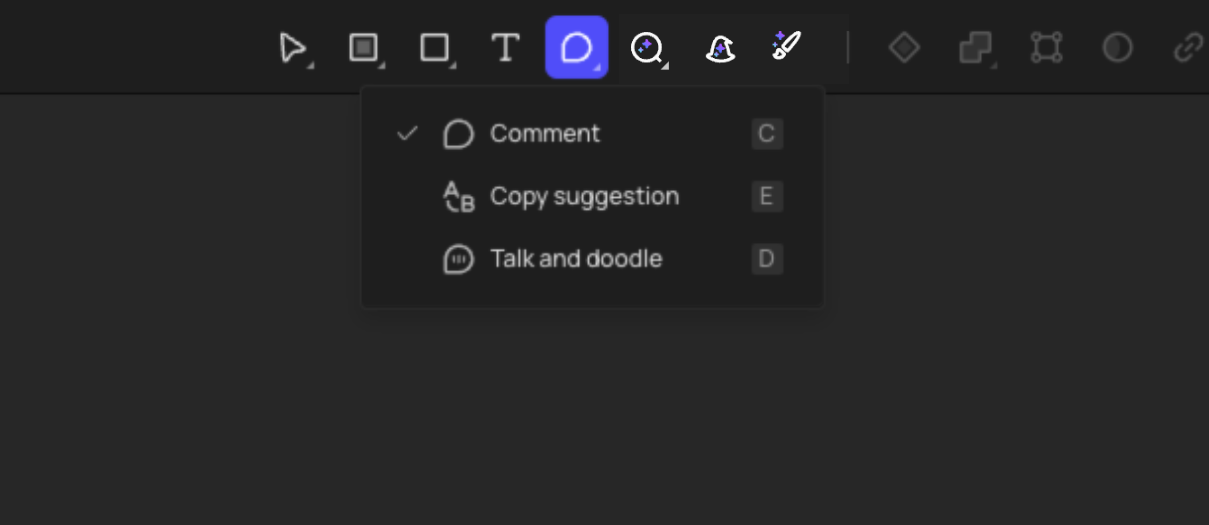
Comment tool
Used for interacting with team members through comment, talk and doodle, and copy suggestion.
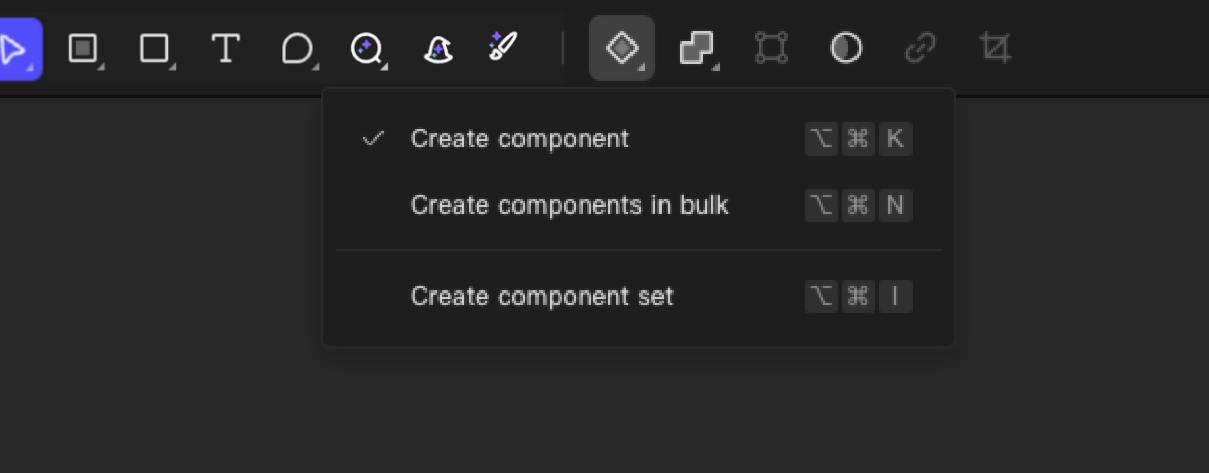
Create components
Shortcut: Mac: Option + Command + K / Windows: Alt + Ctrl + K
Used to create reusable assets with inherited properties. It is one of the core functions of building a design system. Learn more about Know about Components
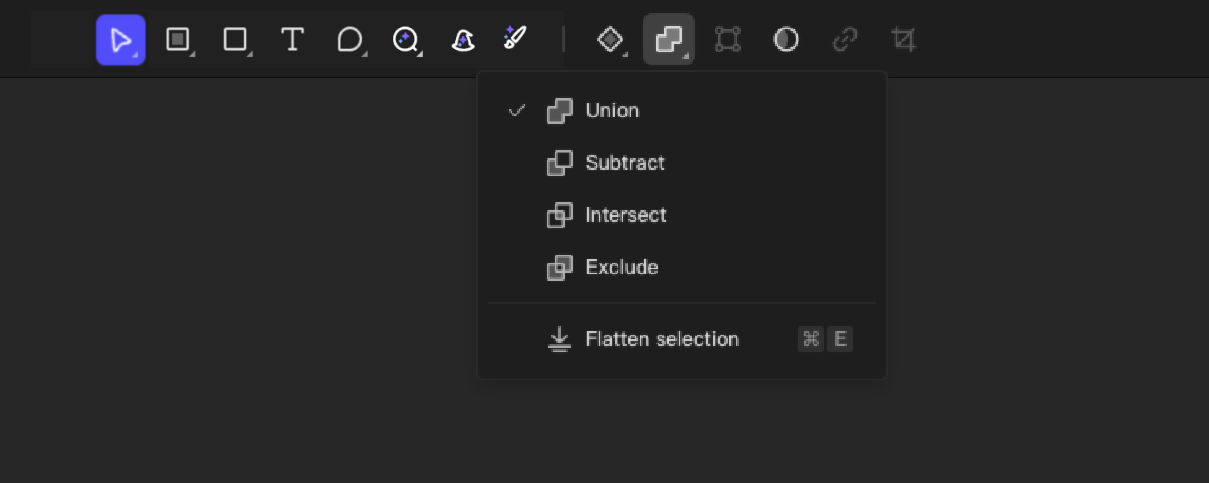
Boolean operations
Also known as boolean operations, it can combine multiple shapes through formulas such as union, subtract, intersect, and exclude.
Edit vectors
Shortcut: Enter / Return
Select a vector layer such as a shape or a path, double-click it or press Enter / Return to edit it. The rightside property panel will change and you can edit the vector with anchor points and handles. Related tools are displayed in the toolbar.
Click “Done” button, double-click the selected layer, or click anywhere else on the canvas to finish editing.
Click “Done” button, double-click the selected layer, or click anywhere else on the canvas to exit Edit mode.
Mask
Shortcut: Mac: Control + Command + M / Windows: Alt + Ctrl + M
Masks are like windows; you can only see the pattern inside the "window," and the outside is obscured. Learn more about Masks
Create link
Shortcut: Mac: Command + K / Windows: Ctrl + K
You can add accessible links to text layers. Note that this link cannot be clicked in preview mode.
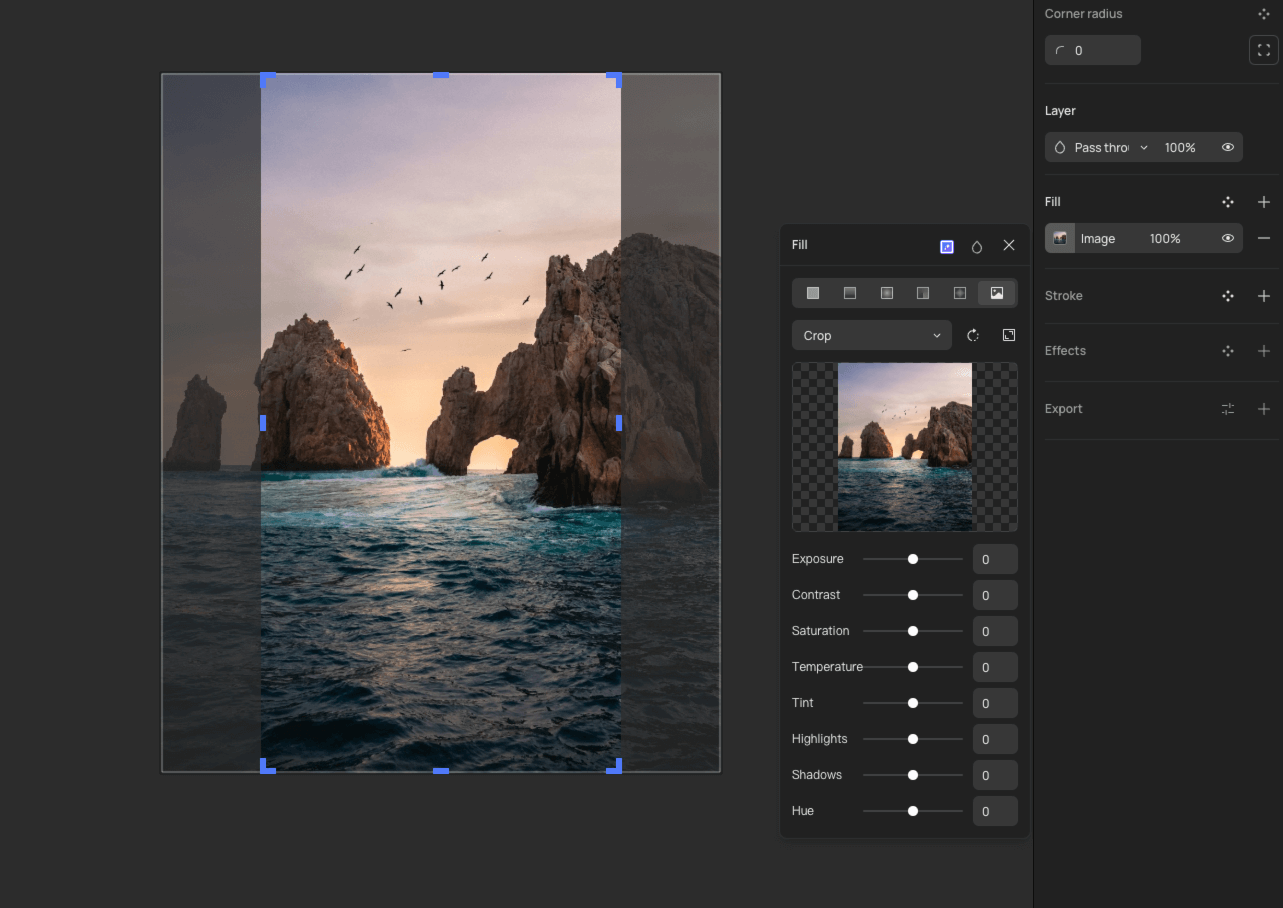
Crop image
Activated by double-clicking on a layer with an image fill, used to crop images. Learn more about Image
File menu
You can find almost all the Creatie’s functions here.
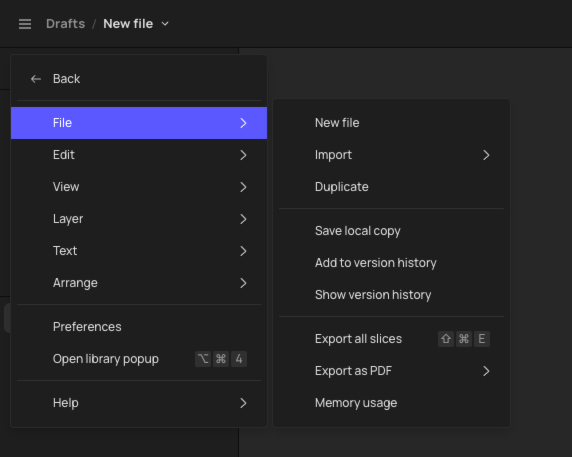
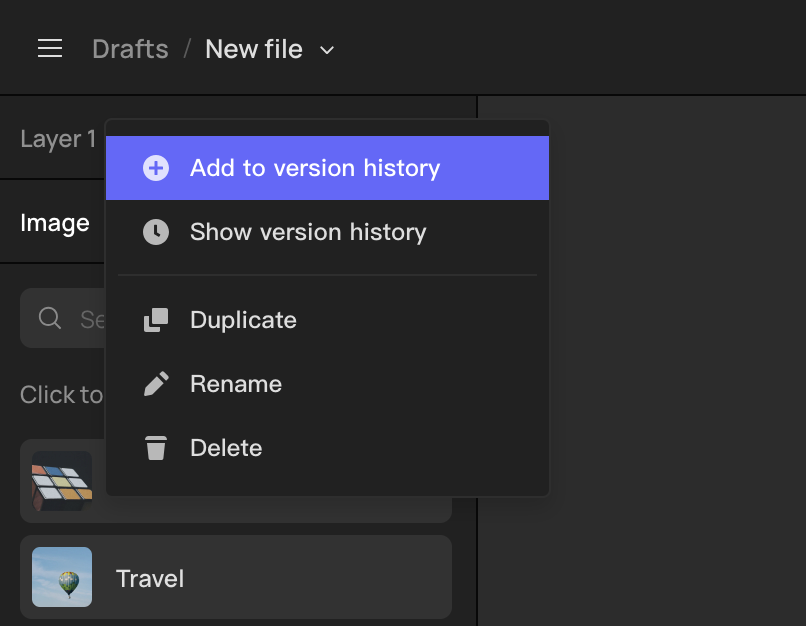
Click on the dropdown arrow next to the file name to find the version history feature. Learn more about Version History
Collaborator avatars
Avatars of all users currently accessing the file are displayed on the right side of the toolbar. Clicking on an avatar allows you to follow the perspective of that user. This feature is great for use during the review process.

Share
An essential collaboration feature. A single link allows team members to easily view your design or collaborate with you.

View option
Rich view controls help you create a personalized creative interface. When there are many collaborators, you can turn off multi-cursors mode to help you enter a state of flow.
👍🏻 Helpful or 👎🏻 Not Helpful
👉🏻 Was this article helpful to you? We look forward to your feedback.
👍🏻 Helpful
👎🏻 Not Helpful